Craft a Holiday Garland with Fresh Greenery for a Touch of Nature
Creating a holiday garland with fresh greenery is a delightful way to bring the essence of the season into your space. The aroma of fresh evergreen can instantly make any room feel more festive. Instead of reaching for synthetic alternatives, embrace the joy of making a natural garland with branches gathered from the outdoors.
This guide will walk you through selecting the best base greenery for durability, choosing accent foliage for visual appeal, and adding final decorative flourishes to your garland. Get ready to drape your creation over any mantel, frame any entryway, or enhance your holiday table setting with a touch of natural elegance.
Starting Your Fresh Greenery Garland
Before embarking on your greenery garland project, visualize the style you aim for, determine its placement and required length, and prepare your materials and tools.
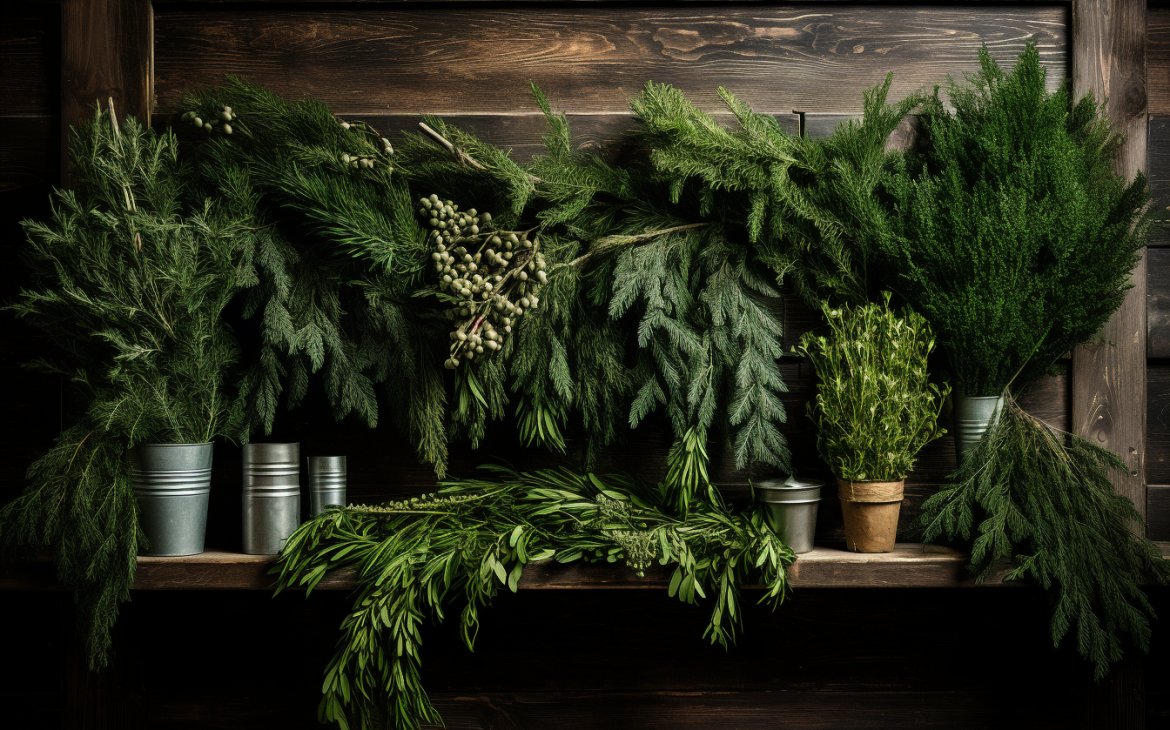
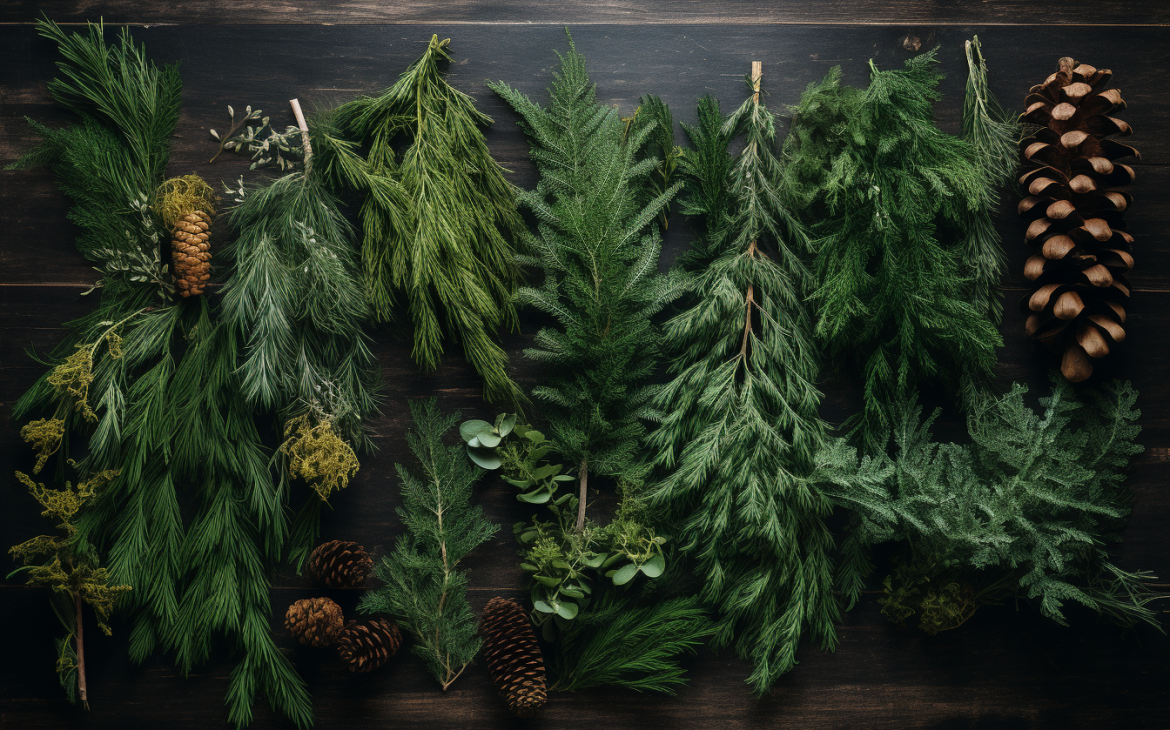
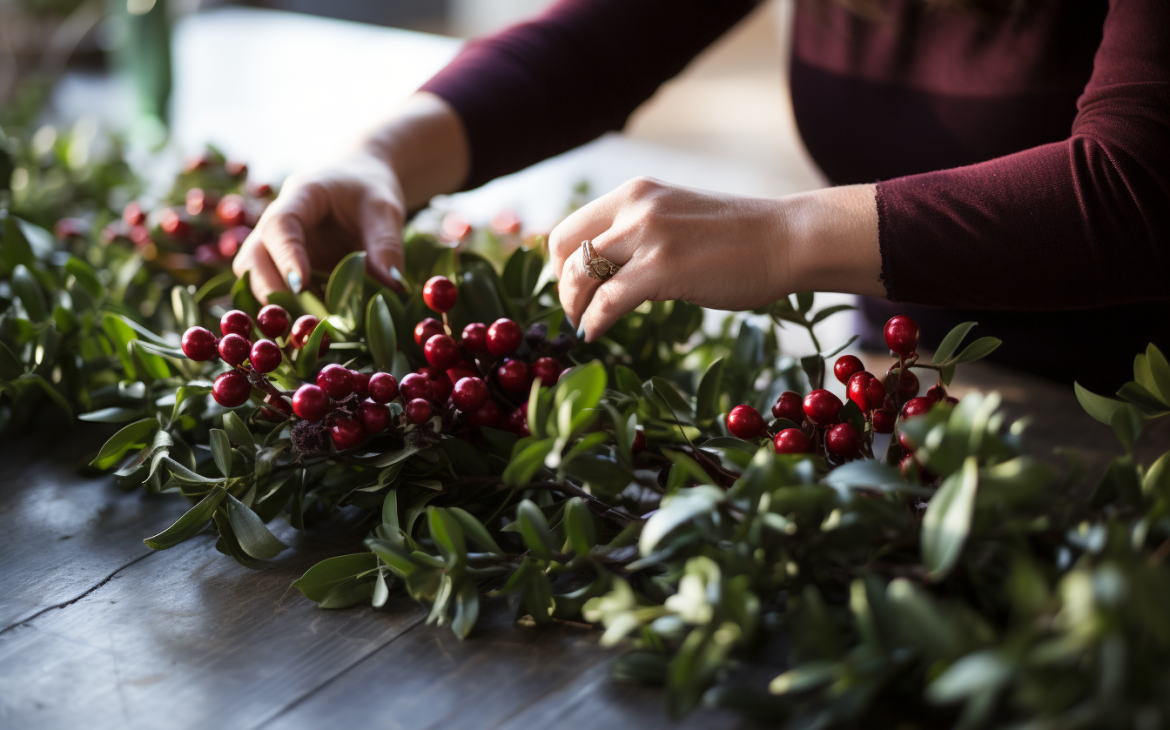
Opt for a minimalist garland with a single green variety, or go all out with a diverse blend. Begin with strong, foundational greenery such as pine, cedar, juniper, boxwood, noble, or frasier fir branches.
Enhance your garland by incorporating softer foliage like eucalyptus, holly, magnolia leaves, or olive branches for added texture and volume. For a splash of festive color and character, adorn your garland with Christmas ornaments, ribbons, bows, or botanical accents.
What You’ll Need
Tools
- Gardening shears or heavy-duty scissors
Materials
- Fresh greenery such as pine, cedar, juniper, boxwood, noble or frasier fir
- Decorative greenery such as eucalyptus, magnolia leaves, holly or magnolia leaves
- Floral wire
- Ribbon, Christmas ornaments, floral picks (Optional)
- Strand of battery-operated twinkle lights (Optional)
- Self-adhesive hooks for hanging (Optional)
Creating Your Fresh Greenery Garland
Set Up Your Space
Start with a clean, spacious area to work in, as handling greenery can be a bit untidy. Choose a large table or a roomy floor spot where you don’t mind a little mess.
Design Your Garland
Decide on the garland’s location and desired look. This will influence the supplies you’ll need. Measure the length and depth of the space where your garland will rest, whether it’s a mantel or a banister.
Collect Your Materials
With your design in mind, prepare all necessary tools and materials. Organize your greenery, checking each piece for any unwanted debris or imperfections. Snip the stems for uniformity.
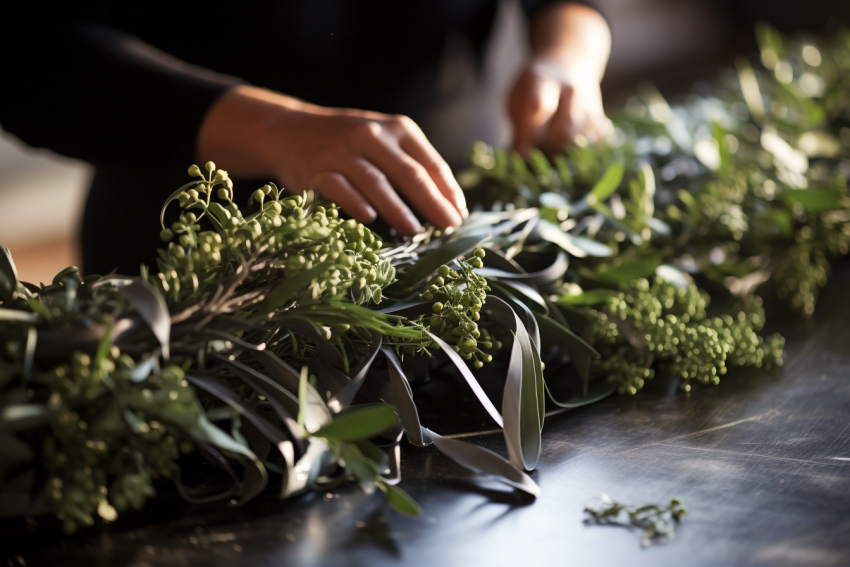
Create Greenery Clusters
It’s time to get crafty! Your garland will consist of several greenery clusters. Decide on the fullness of each cluster to suit your garland’s desired look.
Start by stacking a few branches and secure them at the stem with floral wire. Ensure each cluster is fastened well to avoid unraveling.
Keep making these clusters until you’ve used all your greenery. Aim for consistency in size to maintain a cohesive look throughout the garland.
Assemble Your Garland
With your clusters ready, it’s time to assemble them. Lay one cluster down as the starting point, then slightly overlap it with another, concealing the stems.
Use floral wire to bind the clusters together discreetly, ensuring the wire is camouflaged by the foliage. Continue this until all clusters are connected.
Finish the End When you get to the last cluster, place it horizontally so that its stem faces the end of the garland.
Join the end cluster to the garland’s tail, wiring them together. Fluff the branches to cover any gaps.
Add Additional Foliage
For extra flair, weave in softer greenery like eucalyptus or holly, securing them within the garland for added depth and diversity.
Decorate Your Garland
Finally, personalize your garland with decorations. Attach ribbons, bows, ornaments, or floral picks evenly along the garland with wire or hooks, ensuring they are well distributed for a harmonious look.
Enjoy your handcrafted garland, bringing the beauty and scent of fresh greenery into your home!