Creating an Interior Design Mood Board

Embarking on an interior design project can be both exhilarating and overwhelming. With a multitude of choices in colors, fabrics, furniture, and accessories, where do you begin? The answer lies in a well-constructed mood board. Here’s how to bring your vision to life through this essential planning tool.
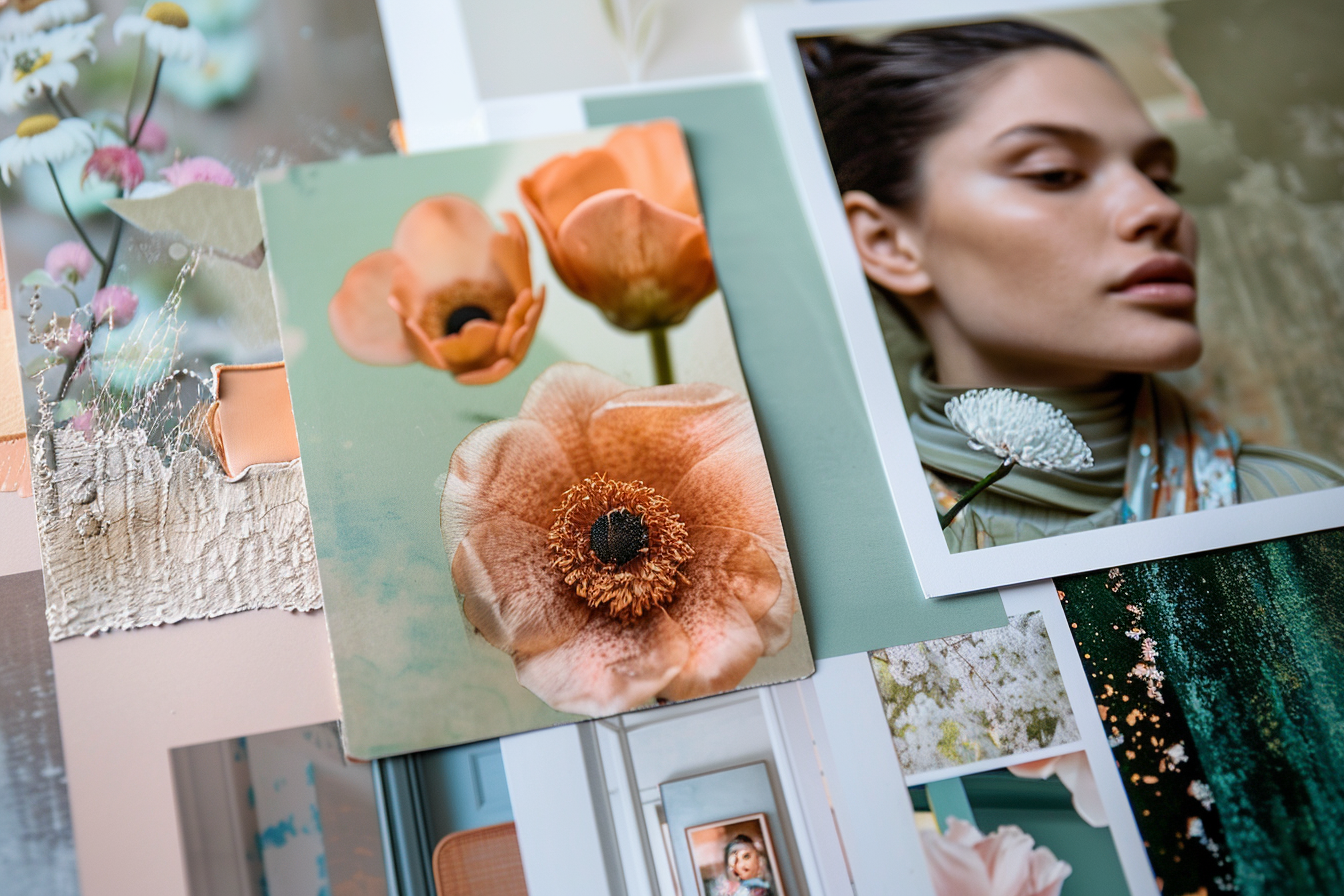
Step 1: Define Your Goals and Gather Inspiration Before you dive into the tangible elements of your mood board, take a moment to define what you want to achieve. What emotions do you want to evoke in the space? Are you aiming for a tranquil retreat, a vibrant gathering area, or a functional workspace? Once you have a clear objective, gather your inspiration. This can come from anywhere—a piece of art, a scenic photograph, a fabric swatch, or even a memorable travel experience.
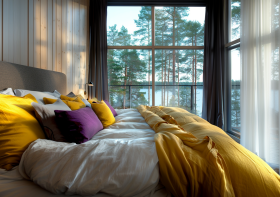
Step 2: Select a Color Palette Color is the soul of your design, setting the mood and defining the space. Choose a primary color that matches the ambiance you’re aiming for. Add secondary colors to complement or contrast, depending on the effect you desire. Keep in mind color psychology and how certain hues can affect mood.
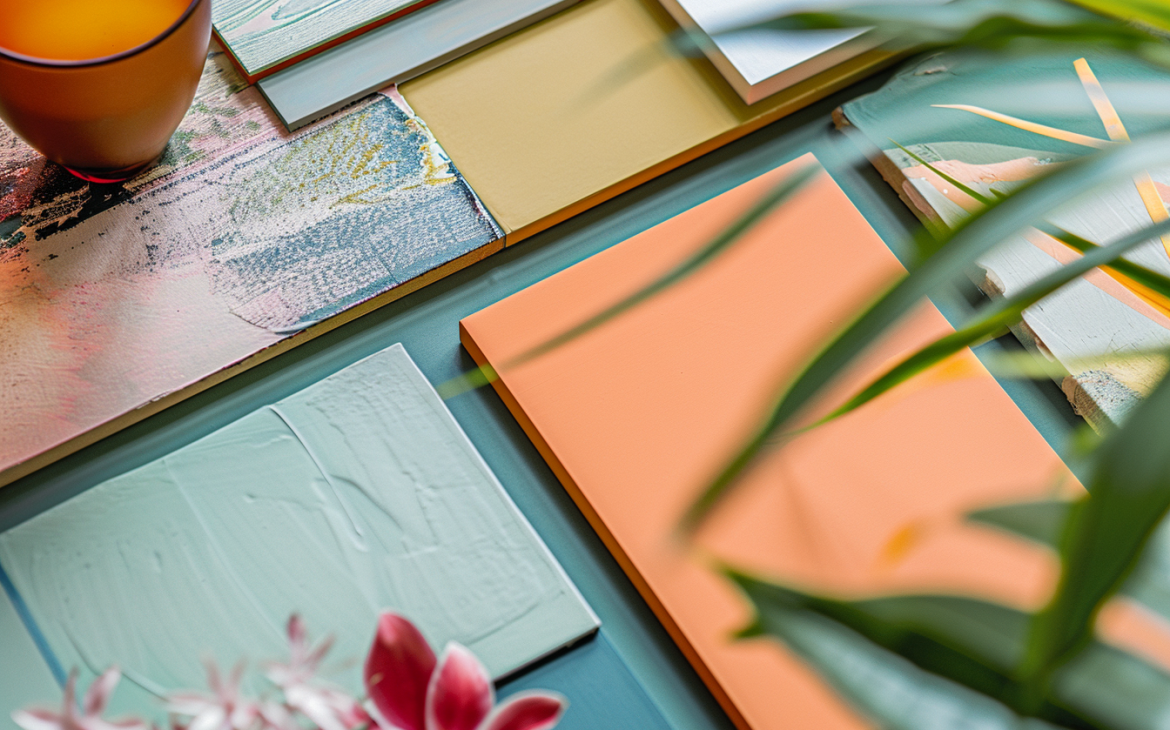
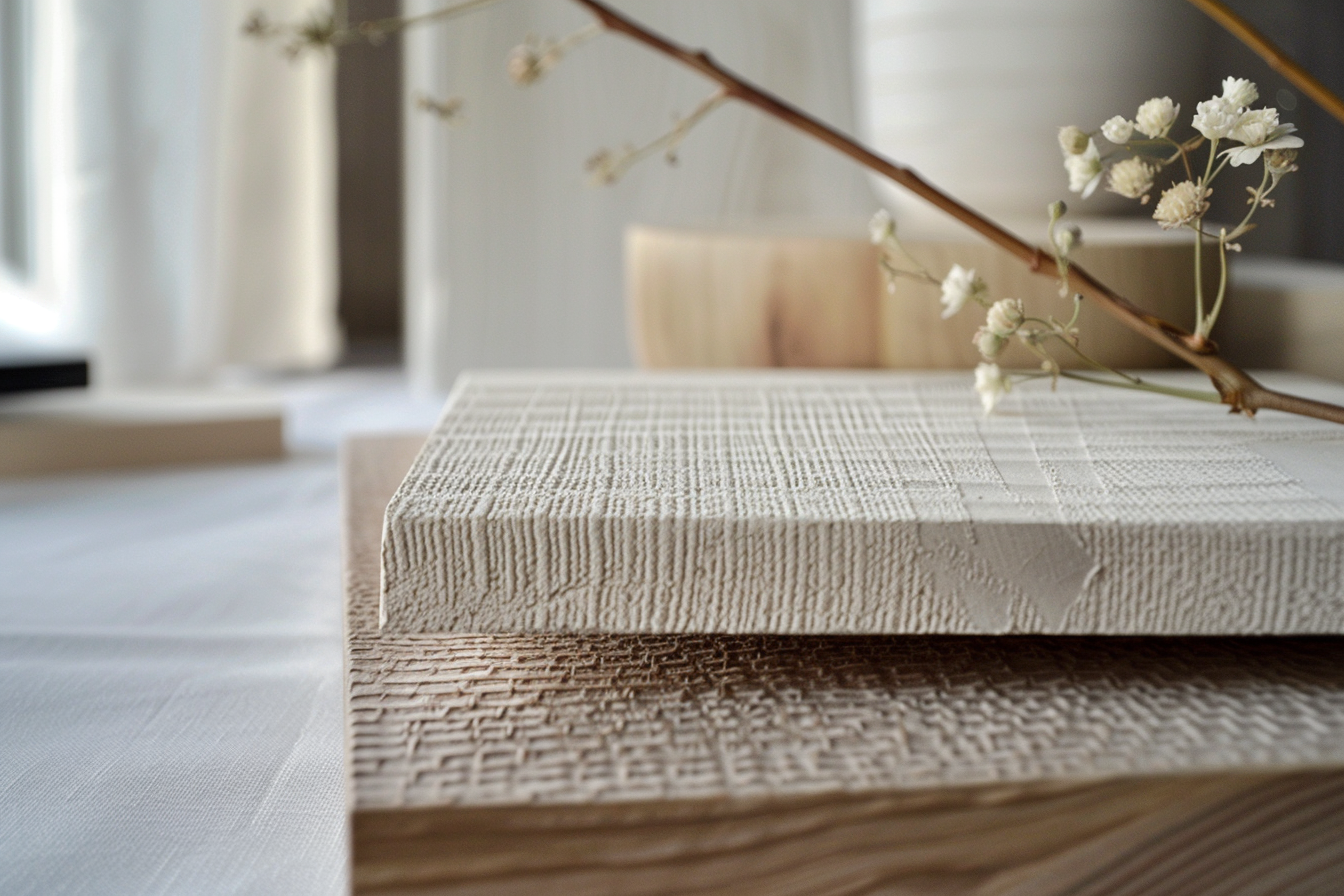
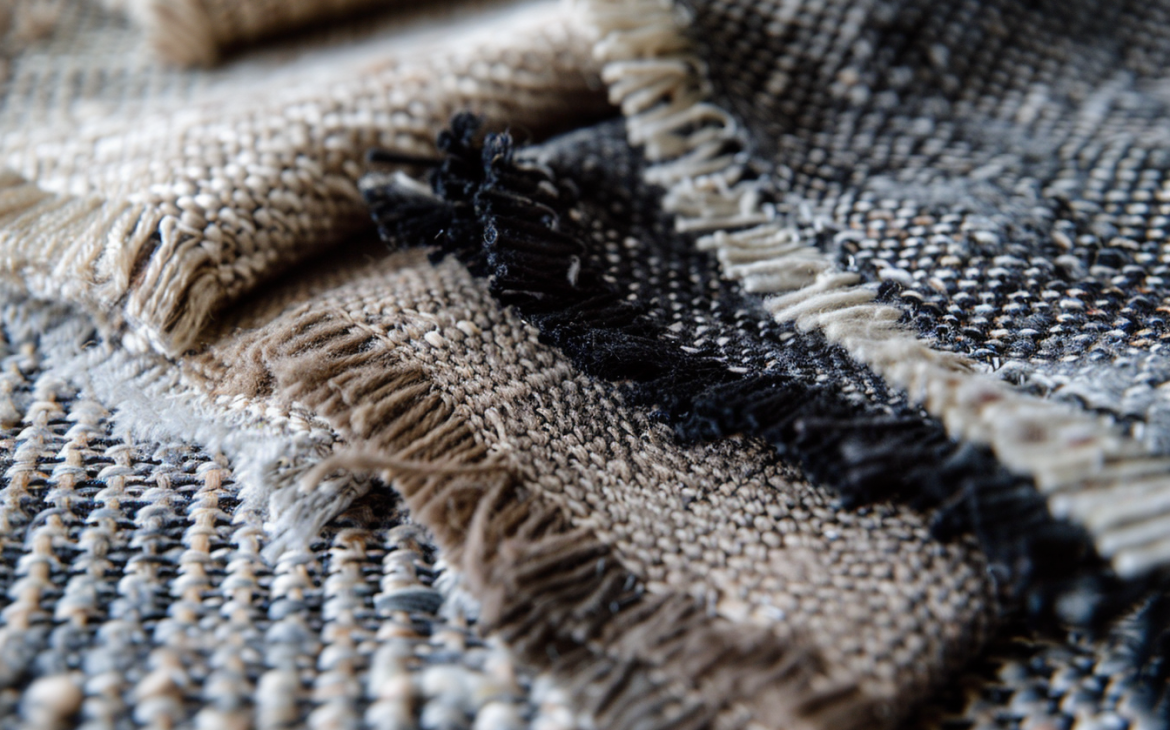
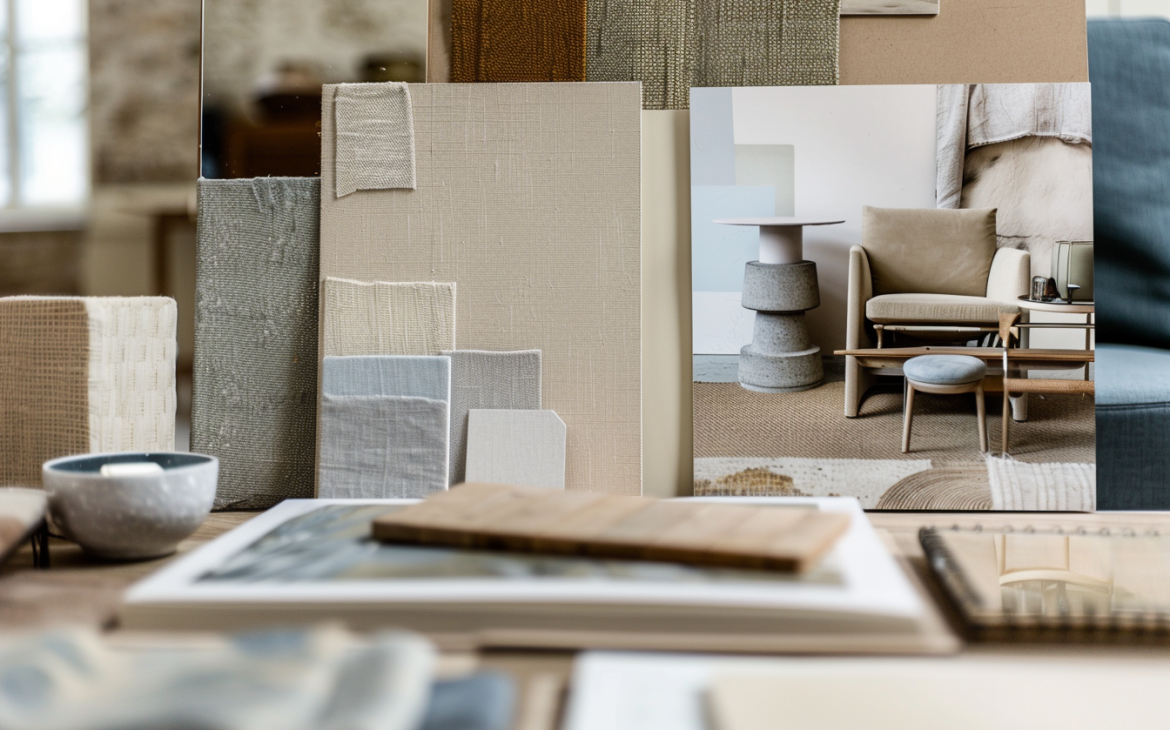
Step 3: Play with Patterns and Textures Patterns add depth, while textures bring warmth and comfort to a space. Mix and match different materials to see what speaks to you. Consider how natural light interacts with surfaces throughout the day and how this will affect the mood.
Step 4: Choose Your Furnishings Wisely Furniture is both functional and decorative. On your mood board, include images of pieces that not only fit your aesthetic but also serve the intended purpose of the room. Remember to maintain a balance between beauty and utility.
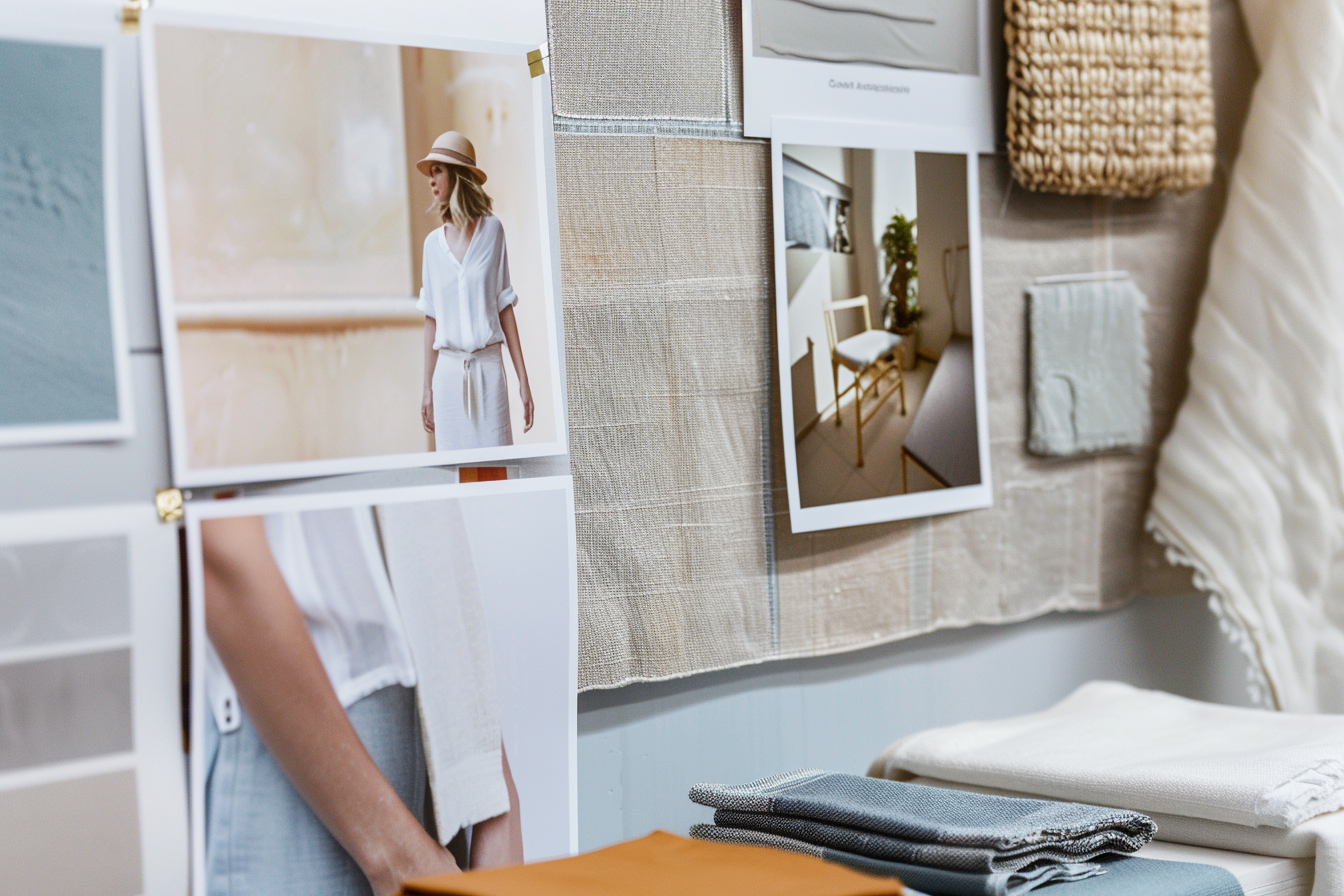
Step 5: Accessorize and Personalize Accessories can transform a good design into a great one. Choose items that reflect your personality and complement the larger elements. Think about artwork, lamps, pillows, or rugs that tie your mood board together.

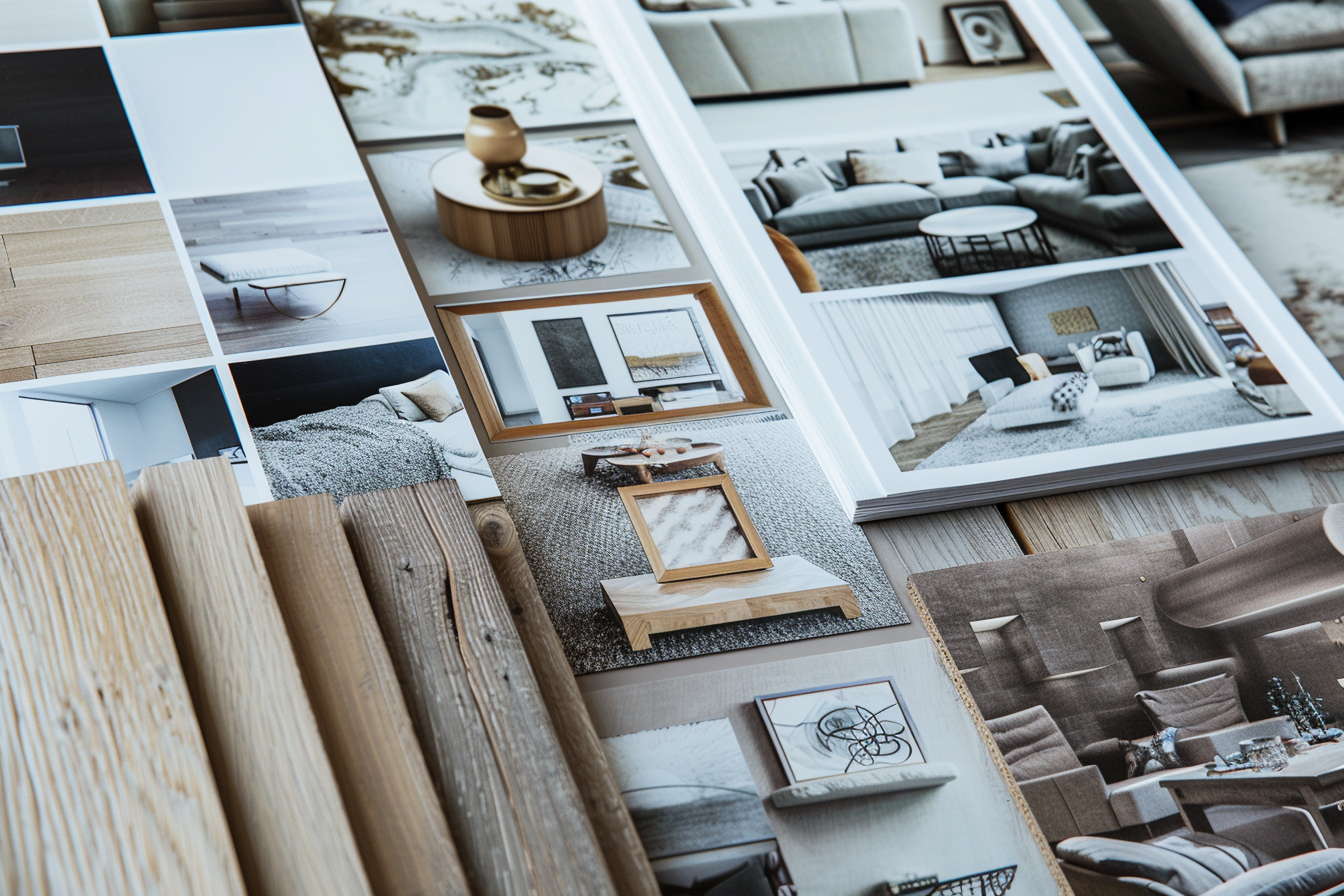
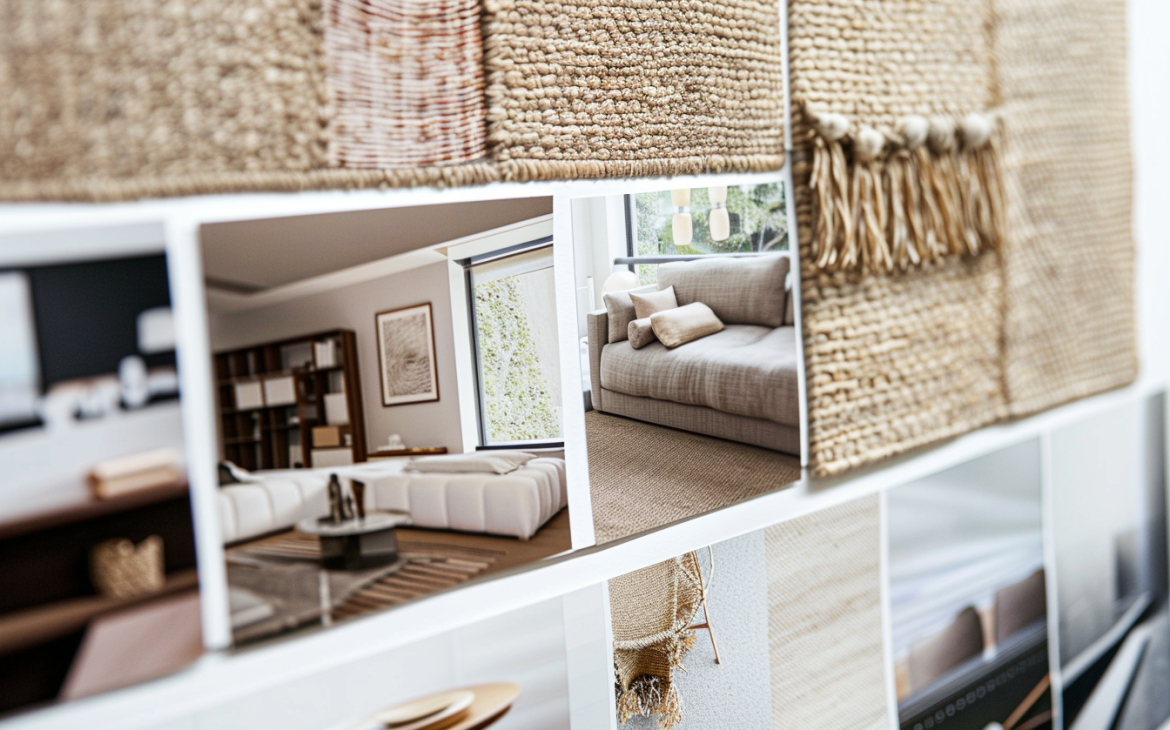
Step 6: Assemble Your Mood Board Now it’s time to bring it all together. There are two routes you can take—digital or physical. For a digital mood board, tools like Pinterest or design software can be invaluable. For a tactile experience, use a corkboard or a large sheet of paper where you can arrange your collected samples of fabrics, paint swatches, and pictures of furnishings.
Step 7: Reflect and Revise With all elements on your mood board, step back and reflect. Does it convey the mood you’re after? Is there coherence in the design? Don’t hesitate to make changes. A mood board is a fluid tool that should evolve as your vision becomes clearer.
Step 8: Share and Collaborate If you’re working with a designer, share your mood board with them. It will serve as a visual communication tool, ensuring you’re both aligned with the project’s direction. If it’s a personal project, sharing with friends or family can provide valuable feedback.
A mood board is not just a collection of pretty images; it’s a roadmap to your design destination. It allows you to experiment and envision without commitment, saving you time and money in the long run. Most importantly, it’s a canvas for your creativity, so have fun with it! Whether you’re overhauling a room or just refreshing your space, let your mood board be the guide to a design that resonates with your unique style.
If you want to learn more about how to make an Mood Board look for my book Create mood board for interior design project from Amazon.